This is my families favorite chicken recipe, even my four year old loves it! And it is super easy to make, baked or on the grill.
You will need:
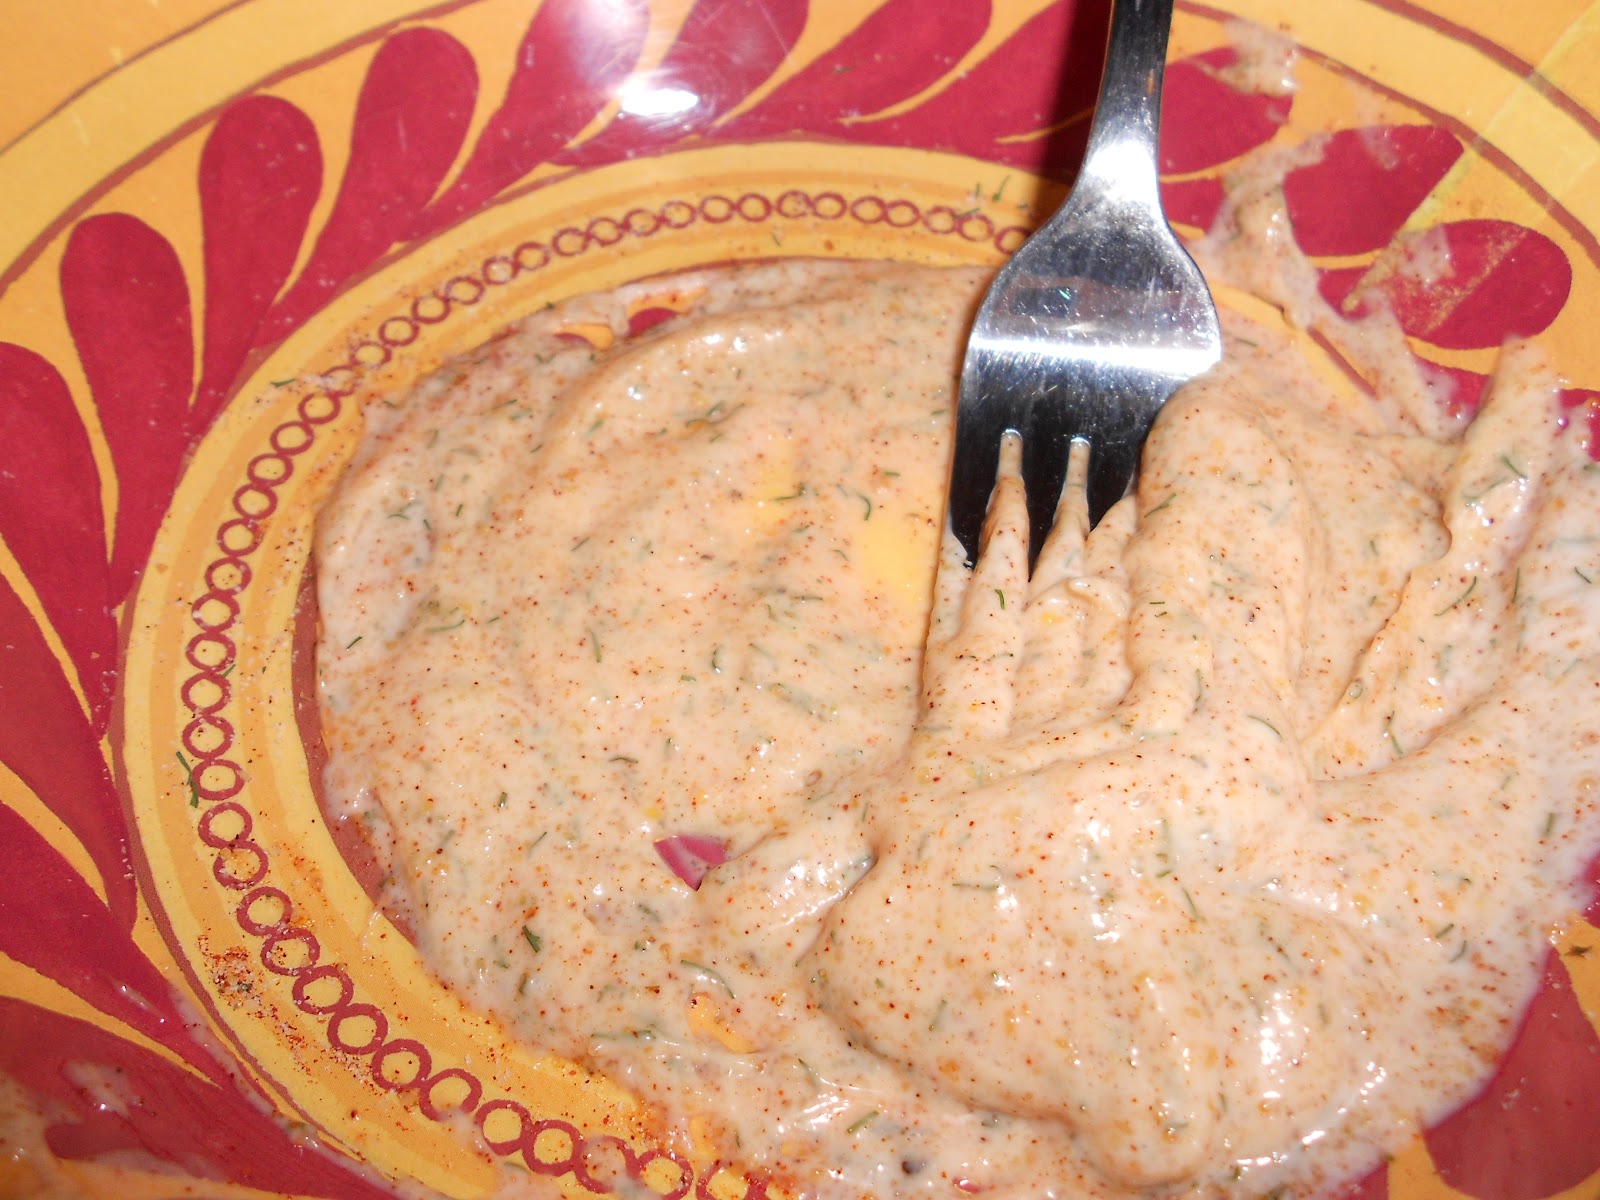
1 cup Miracle Whip
1/4 C. Lemon Juice
2 Tbs Water
1 Tbs Oregano
1Tbs Garlic Powder
1/2 Tsp Pepper
1/2 Tsp Salt
3-4 Chicken breasts (My husband likes it better with the skin, it works with or without)
Stir all the ingredients minus the chicken together until it's a creamy sauce.
Cover Chicken breasts with Sauce. For the oven bake at 350 for 60min or until chicken is fully cooked.
To cook on the grill cover chicken with Sauce and let marinade for at least 30 min in the fridge. Remove chicken from marinade; reserve marinade. Place on grill over medium coals. Grill covered 20 minutes. Brush with marinade. Continue grilling 15 to 20 minutes, or until cooked through, turning occasionally.
Seriously, you will not be disappointed. It is AMAZING.
I served mine with Spinach and Artichoke Pasta. If you want the recipe for that, here it is:
1 pound short-cut pasta
2 tablespoons extra virgin olive oil
3 tablespoons butter
1 large onion, finely chopped
3 cloves garlic, finely chopped
1 package dry Italian dressing
3 tablespoons flour
1/2 cup chicken stock
2 cups milk
1 10-ounce box frozen chopped spinach, defrosted and drained
1 can chopped artichoke hearts in water, drained
2 cups shredded Italian cheese blend, plus additional for sprinkling on top
1 cup grated parmesan cheese, plus additional for sprinkling on top
1. Place a large pot of water over high heat to cook the pasta. When the water is boiling, salt it well and drop in the pasta. Cook to al dente, according to the package directions. Drain the pasta and reserve.
2. While the pasta is cooking, place a medium pot over medium-low heat with the olive oil and the butter. Add the onion and garlic to the pan and cook the veggies until very soft, about 10 minutes.
3. Turn the heat up to medium-high and sprinkle the flour into the pan. Cook for about 1 minute, then whisk the chicken stock into the pan, cooking for another minute. Whisk the milk into the pan and bring up to a bubble. Add the vegetables, Italian dressing and salt and pepper to taste to the sauce and simmer until thickened, 2 to 3 minutes. Add the cheeses to the sauce and stir until melted.
4. Toss the prepared sauce with the cooked pasta and transfer to a casserole dish. Sprinkle more of the cheeses over the top and broil under low heat until the cheese has melted and the top is golden brown.