Showing posts with label Easy DIY. Show all posts

Friday, February 3, 2012

Nursing Cover

To make this Nursing cover you will need:
Material measuring at least 20in high and 70in long (This size fits most)
Satin Binding (optional) 
Elastic

 First cut your material to the correct length
 Fold the edges in about 1in and sew with a 1/4 in seam allowance. This creates an opening in your material to insert the elastic in later.
Next, if you are using the satin binding you simply open it up under your material, lining the inside fold up with the edge of your material.
 Then fold over your material and pin in place
 I burn the edges of my satin binding so they don't fray, you don't want strings hanging off of something your baby will be eating in! Also, I swear I didn't mean to be flipping you all off in this photo. Ha ha.
   Because Satin binding is hard to keep perfectly straight I usually use a zig zag stitch, and sew it "cute side up" so that I can keep it even along the edge.
 Because this is what my back usually ends up looking like. It's not nearly as straight and neat.
 My adorable "helper" for this project :)
 Next cut two strips of elastic 22in long and thread it through not just the satin binding, but also the opening you created in your material, which gives it extra strength. I pin a safety pin on the end of my elastic to make threading it through a million times easier.
Once you get the elastic all the way through you can pin them together so you don't lose either end and do the other side. After that you sew the elastic together, and pin the raw edges of material together and sew the whole thing into a big elastic tube of material.
And you have a simple DIY nursing cover! 

To put it on you put one arm through the top, and keep the other arm inside to support your baby. You wear it kinda like a beauty queen sash. :)

These are my favorite covers because in my opinion they give the most coverage. When your baby is little you can tuck the whole baby inside the cover, and when they are bigger you can have half of their body sticking out the bottom. As your baby gets older they won't be flashing your goods to anyone, because this cover actually stays in place! The only issue I have ever had with it is when my little girl was a newborn and still needed help latching, it was a little hard to maneuver around inside of it and see what I was doing. But once she got better at latching on herself I wouldn't leave the house without it!

Tuesday, January 31, 2012

Yarn Wreaths

I love the look of yarn wreaths! I've seen them on Etsy, but they cost so much! So I decided to make my own.

I didn't take any pictures along the way, so if anyone wants an actual tutorial on how to make one with pictures let me know. They are pretty self explanatory though. You can buy a Styrofoam wreath at hobby lobby (can you tell how much I love that store?) and then just wrap yarn around it and add whatever you want. 

I wish I had taken pictures of the ones I made as Christmas presents before giving them away to show different styles!

Saturday, January 28, 2012

Scrappy Flip Flops

I saw these adorable flip flops on one of my nieces and because I have sooo much extra material I decided to make a few. You can get kids flip flops for just over a dollar at hobby lobby, and since I already had all the material this whole project cost me about $1.50 each pair. If you don't have material or want specific colors I suggest buying a pack of fat quarters from Hobby lobby.

I cut a bunch of material in pieces about 1 in wide and 4 in long. This will of course vary on the size of flip flop you are using.
Wrap the pieces around the straps of the shoes and tie a
knot. 
Alternate the colors and push close together to make fuller.
Repeat until both straps are covered.
Trim to preferred length for your finished product.
I love them, and best of all, so does Zoey!


Wednesday, January 25, 2012

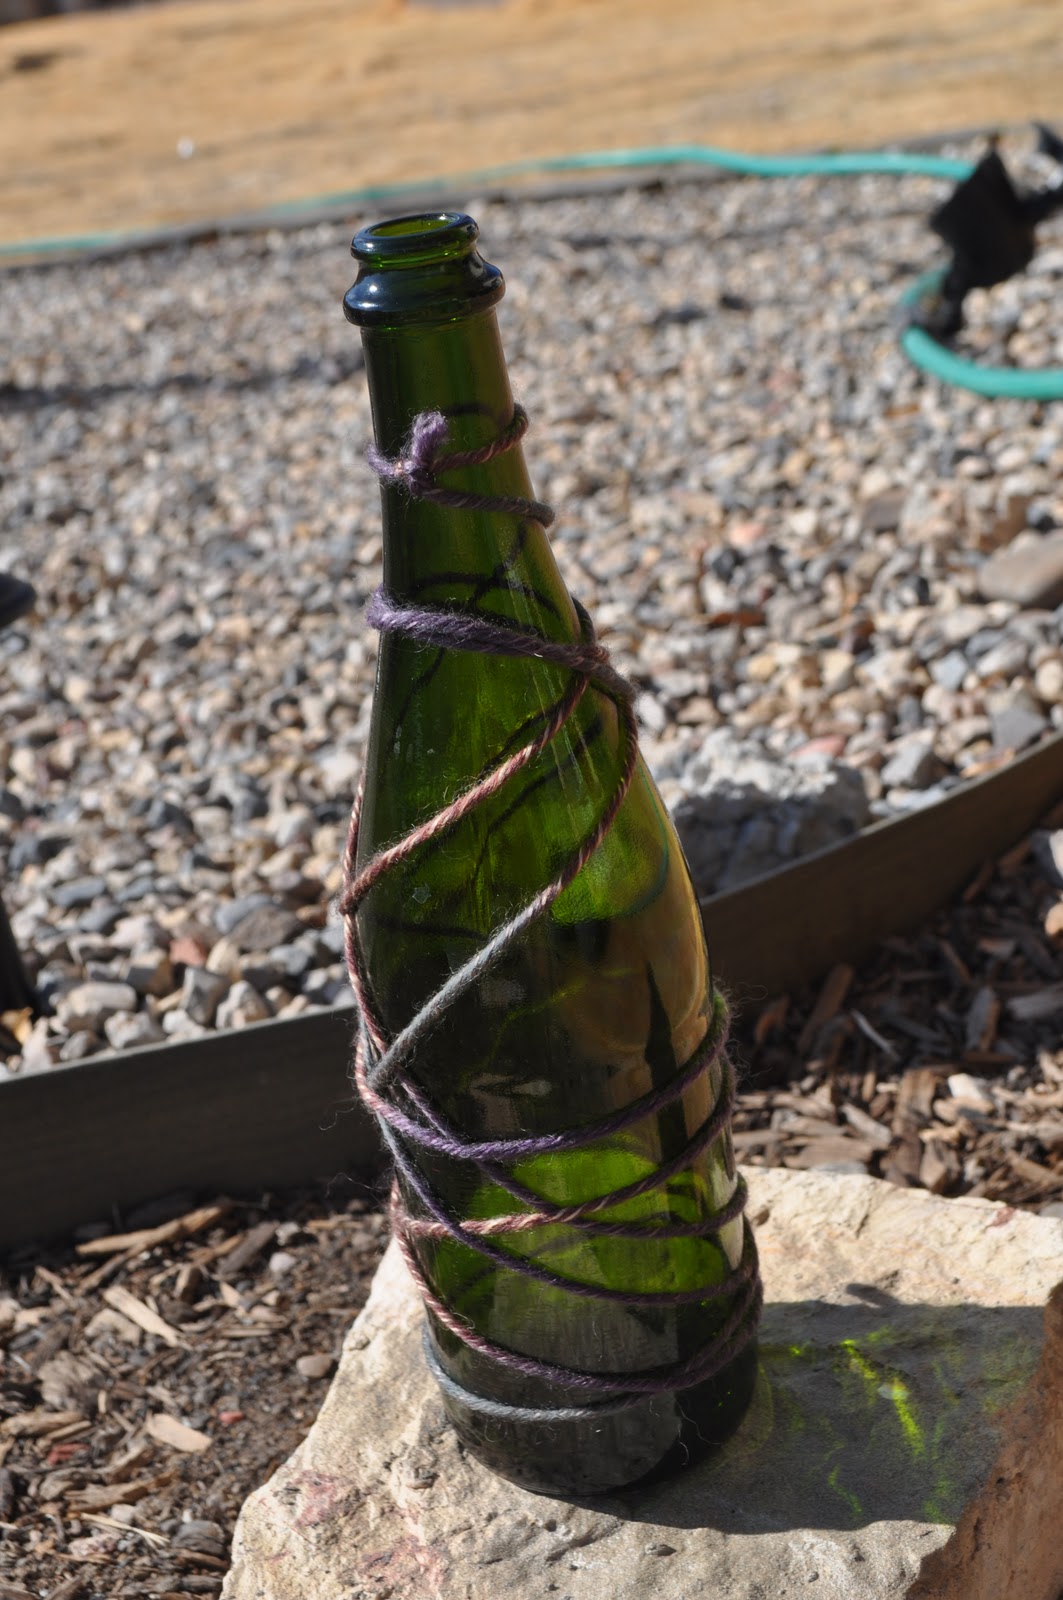
Turn an old bottle into a Vase!

 Today Miss Zoey was sick so as we watched cartoons for hours upon hours I decided to make some vases. You can use any kind of bottle! Don't mind the three with the bottoms unfinished, they sit on top of my bookcase so you can't tell. Lol. I figure this post was pretty self explanatory. All you need is something to wrap around the bottle (I have three yarn, and the gray one is some scrap Jersey knit material from a previous project) then left one plain because i loved the color of the glass.
The bottle on the far left I simply wrapped some yarn in a random pattern and then sprayed it with the same paint as the post below. I would NOT recommend using yarn. It was too thick making ridges in the paint and left little fuzzies. Tape or ribbon would have been a better idea. :)

Tuesday, January 24, 2012

Ugly Soap Dispensers?

 These are my soap dispensers, they were on sale for a dollar. Somehow I lost all my cute matching ones when we moved to TX and didn't want to spend the money to get new ones. They're ugly... esp when I refilled them with ugly orange soap.
 I was at Lowes the other day looking for paint to make an old coffee table into a bench (Exciting, yes? That post will be here once I get around to finishing it!) And saw this Paint, it's textured and looks like a rock. Then I started to get excited, my palms got sweaty like they do when I get into creative mode. Lol. It was a little pricier than I wanted (six dollars) but I could fix EVERY soap dispenser in my house with it! Also, I obviously dropped it, and cracked the lid. I blame my excited sweaty hands. :)
This is the finished project! Isn't it cute? The picture doesn't do it justice. But all you have to do is peel the labels off your old dispensers and spray! I actually love the shape, it looks like a little oval stone. And this was SO easy. I actually completed it when Paige was napping. Success. If you try this project be sure to show me pictures!