I've been playing with new hairstyles on Zoey lately and wanted to share this one just because it's so easy and cute!
Thursday, February 9, 2012
Tuesday, February 7, 2012
Mailing Hugs
We live far from Family, and the girls' grandparents always say they just want to give our girls a big hug. So for Valentines day we decided to mail them one!
Zoey had so much fun making this project, and picking out the colors of paper and ribbon. After tracing and cutting out the hands I measured their arm span and cut a ribbon to that exact size, so it really is a Zoey and Paige sized hug just for their grandparents. :)
Friday, February 3, 2012
Nursing Cover
To make this Nursing cover you will need:
Material measuring at least 20in high and 70in long (This size fits most)
Satin Binding (optional)
Elastic
First cut your material to the correct length
Fold the edges in about 1in and sew with a 1/4 in seam allowance. This creates an opening in your material to insert the elastic in later.
Next, if you are using the satin binding you simply open it up under your material, lining the inside fold up with the edge of your material.
Then fold over your material and pin in place
I burn the edges of my satin binding so they don't fray, you don't want strings hanging off of something your baby will be eating in! Also, I swear I didn't mean to be flipping you all off in this photo. Ha ha.
Because Satin binding is hard to keep perfectly straight I usually use a zig zag stitch, and sew it "cute side up" so that I can keep it even along the edge.
Because this is what my back usually ends up looking like. It's not nearly as straight and neat.
My adorable "helper" for this project :)
Next cut two strips of elastic 22in long and thread it through not just the satin binding, but also the opening you created in your material, which gives it extra strength. I pin a safety pin on the end of my elastic to make threading it through a million times easier.
Once you get the elastic all the way through you can pin them together so you don't lose either end and do the other side. After that you sew the elastic together, and pin the raw edges of material together and sew the whole thing into a big elastic tube of material.
And you have a simple DIY nursing cover!
To put it on you put one arm through the top, and keep the other arm inside to support your baby. You wear it kinda like a beauty queen sash. :)
These are my favorite covers because in my opinion they give the most coverage. When your baby is little you can tuck the whole baby inside the cover, and when they are bigger you can have half of their body sticking out the bottom. As your baby gets older they won't be flashing your goods to anyone, because this cover actually stays in place! The only issue I have ever had with it is when my little girl was a newborn and still needed help latching, it was a little hard to maneuver around inside of it and see what I was doing. But once she got better at latching on herself I wouldn't leave the house without it!
Tuesday, January 31, 2012
Yarn Wreaths
I love the look of yarn wreaths! I've seen them on Etsy, but they cost so much! So I decided to make my own.
I didn't take any pictures along the way, so if anyone wants an actual tutorial on how to make one with pictures let me know. They are pretty self explanatory though. You can buy a Styrofoam wreath at hobby lobby (can you tell how much I love that store?) and then just wrap yarn around it and add whatever you want.
I wish I had taken pictures of the ones I made as Christmas presents before giving them away to show different styles!
Sunday, January 29, 2012
Chocolate Strawberry Hearts
Zoey and I made Chocolate strawberry hearts yesterday :)
All you need are cut up strawberries, chocolate and an ice tray (or some type of mold) to stick it all in. I have these cute silicone trays I found at the dollar store one year in the shape of hearts, perfect for Valentines day!
Fill the bottom with chocolate and put strawberries on top
Then cover completely in chocolate
Stick in fridge or freezer to harden
And voila! Is there any better mixture than strawberries and chocolate? I think not
Saturday, January 28, 2012
Scrappy Flip Flops
I saw these adorable flip flops on one of my nieces and because I have sooo much extra material I decided to make a few. You can get kids flip flops for just over a dollar at hobby lobby, and since I already had all the material this whole project cost me about $1.50 each pair. If you don't have material or want specific colors I suggest buying a pack of fat quarters from Hobby lobby.
I cut a bunch of material in pieces about 1 in wide and 4 in long. This will of course vary on the size of flip flop you are using.
Wrap the pieces around the straps of the shoes and tie a
knot.
knot.
Alternate the colors and push close together to make fuller.
Repeat until both straps are covered.
Trim to preferred length for your finished product.
I love them, and best of all, so does Zoey!
Friday, January 27, 2012
Mango Chicken Chilli
This is a great recipe if you want a mild Chilli
Ingredients:
1 package taco seasoning
1 jar Peach and mango Salsa
1 can cream of Mushroom soup
1 cup sour cream
3-4 Chicken breasts
1 cup cooked rice
Frozen corn
1 can black beans
Toppings that you prefer (I use cheese and occasionally green onions)
First you take the Salsa, Taco Seasoning and Cream of mushroom soup
Place chicken in crock pot and sprinkle with Taco seasoning, then pour salsa and soup over the top. Cook on low 4-6 hours
When your chicken is fully cooked remove it from the crock pot and shred with a fork, put chicken back in crock pot and cook 30-60 min so it can soak up all the yummy flavor
Cook your Rice, then add it to the crock pot along with your can of black beans and approx one cup frozen corn.
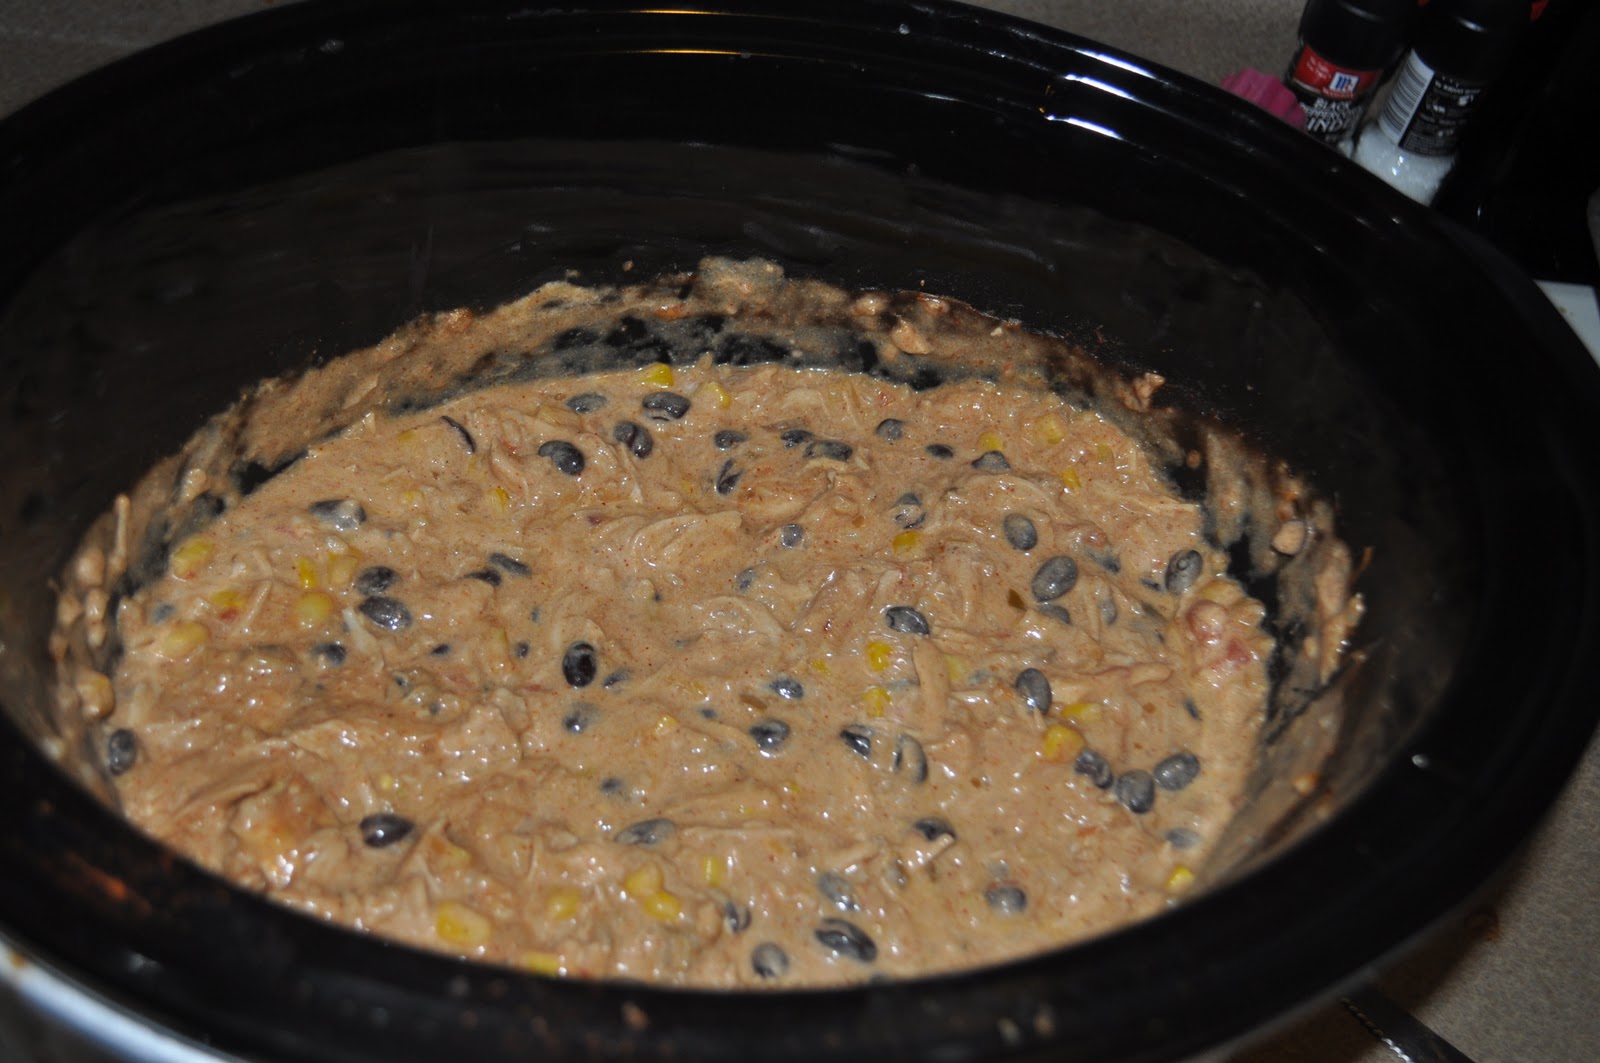
Stir it all up and let it cook until everything is nice and warm
Add one cup sour cream (optional) right before serving.
Then add garnish, which I didn't take a picture of but I'm confident you can figure it out on our own. Ha ha.
It's so yummy, and perfect for a cold day, I hope you all enjoy it as much as I did!
Subscribe to:
Posts (Atom)