I didn't get a photo of this one, but it is so good! I found the recipe on Pinterest and wanted to share. Even my husband that is not a fan of fish at all kept saying how yummy it was! The only thing I changed was I used coconut oil instead of olive oil. :)
Ingredients:
For the fish and marinade:
4 (4-5oz) tilapia fillets (thawed if frozen)
Juice and zest of 1 lime
1 Tbsp olive oil
1 1/2 Tbsp honey
1/2 tsp salt
1/2 tsp pepper
1/4 tsp garlic powder
For dredging and cooking:
1/2c flour (I tried both white flour and whole wheat pastry flour with good results)
1/4 tsp salt
1/4 tsp pepper
1-2 Tbsp olive oil
Directions:
Assemble marinade by combining lime zest, lime juice, olive oil, honey, salt, pepper, and garlic powder in a gallon-sized zip-top bag or shallow container with a lid. Add fish and marinate in the refrigerator anywhere from 1 hour up to 24 hours*.
When ready to cook, combine flour with salt and pepper on a plate. Remove each fish fillet from the marinade and dredge lightly with the flour on both sides (just a light, light coating).
Heat 1-2 Tbsp olive oil in a medium skillet over medium-high heat until shimmering. Cook fillets 2 at a time for 3-4 minutes per side or until opaque and browned (this works best if you don’t disturb the fish much while letting it cook).
Serve with lime wedges or peach salsa.
Serves 4.
*If you want to plan this meal in advance, you can prepare the fish and marinade in a large freezer bag and keep it in the freezer. Move frozen fish and marinade to the refrigerator the morning you plan to serve the fish and allow it to thaw in the refrigerator. It will marinate while it thaws!

Monday, April 2, 2012

Wednesday, March 14, 2012
Baking Fail

You know those silicone baking dishes? Apparently you have to make sure they are made specifically for Baking, otherwise this will happen... Fail. And my family was so excited for muffins that morning. Lol.

Friday, February 24, 2012
How to make a sign stay hung on your doorbell!

I made this sign because unfortunately my doorbell thingy is right outside of my baby's room. And UPS people seem to find it necessary to ring the bell a million times. Ugh.
At first I hung it on my door with my wreath, but nobody seemed to notice it until AFTER they had rung the bell. Then I tried hanging it on the doorbell, but even a slight breeze would make it fall. I could think of many permanent ways to make it stay, but I didn't want this sign up forever! Then I found these...

My husband bought them after we painted our cabinets to put on the back of the doors. They're like little sticky silicone glue dot thingies! (I know, I sounded so smart right then.) We got ours at Lowes

I stuck one on the edge of my doorbell and hung the ribbon behind it, and now my sign always stays hung! I imagine you could get the same results by putting a dot of hot glue there and letting it harden. But these seem much easier to remove in the future.
Now I need to find a way to make my doorbell cuter, it's pretty sad looking!
Now I need to find a way to make my doorbell cuter, it's pretty sad looking!
Tuesday, February 21, 2012
Wall Decor

I made these with my girls a few months ago, they are pretty much my favorite thing hanging in my house right now, and I know I will treasure them forever.

I got the frames at Walmart for about ten dollars each. I already had the paint and pics at home, so it was a cheap project!

Below is the vinyl I have hung above my girls' doors. Paige's room is on the Left, Zoey's on the right. I knew I had to put a cute quote above their doors and I stole this quote from one my mom has hanging above the photos of me and my sisters in our wedding dresses.

"Diamonds may be precious, but daughters are Priceless."
Printed in Ma Sexy Font
Cabinet Transformations
I know these aren't the greatest photos, but I just wanted to say I love how easy Rustoleum Cabinet transformations are, and the finished product looks great! I forgot to take before and after photos so the first photo is the kids bathroom and the second is ours. Our cabinets used to look just like theirs, but bigger.
In two days we went from this:

To this:

Our bathroom looks so much better now, and I can't wait to do finish the other little projects we have in plan for it!

This kit comes with EVERYTHING you will need for your cabinet transformation. And they have so many colors to choose from.

The kitchen is next! Yay!
Friday, February 17, 2012
Baked Salmon

I'm not sure if you can really call this a recipe because I didn't measure anything, but it turned out really good, so here it is! You will need:
Dill Weed
Lemon Pepper
Paprika
Garlic Powder
Onion Powder
Mayonnaise
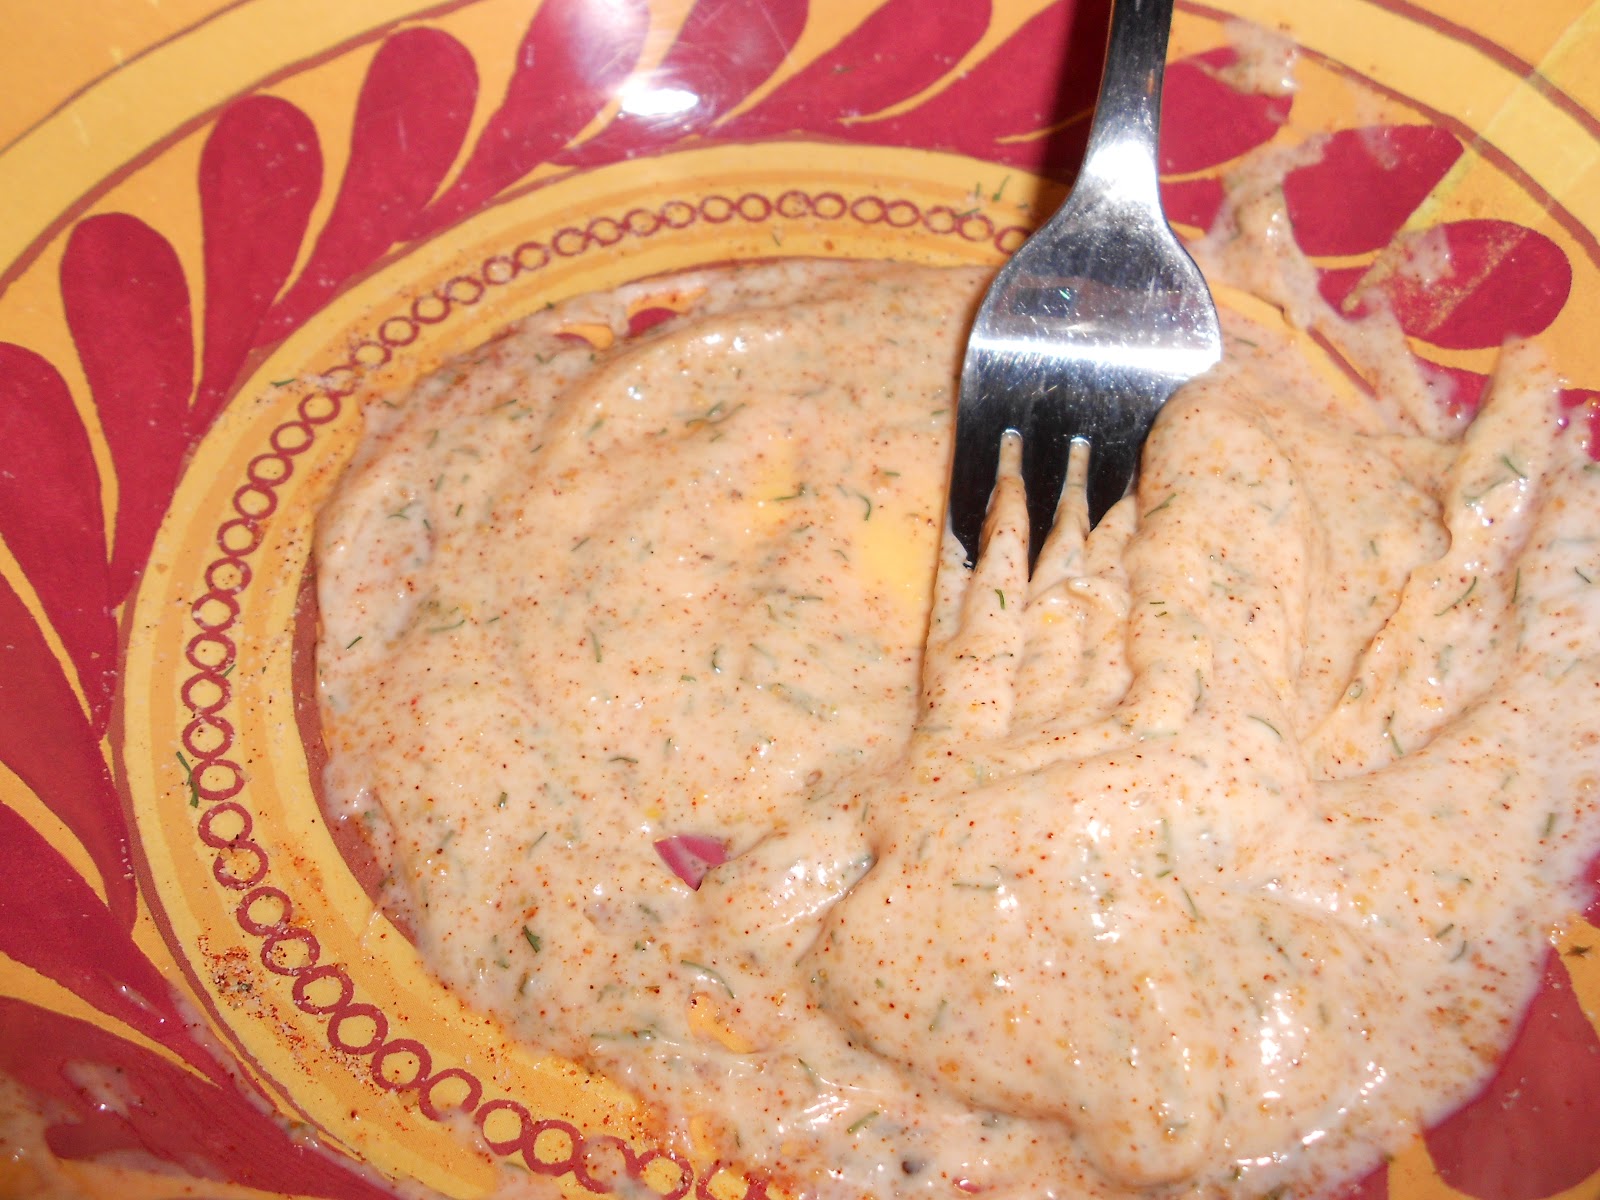
Mix it all together to taste

De-bone your Salmon and put it skin down in a pan covered with foil that's either non stick or been sprayed with cooking spray. Then spread your dressing mix onto the Salmon, in my opinion the more the better, so don't be shy!

Bake at 350 for 25-30 min or until Salmon flakes easily.
Enjoy :)
Wednesday, February 15, 2012
Creamy Lemon Herb Chicken
This is my families favorite chicken recipe, even my four year old loves it! And it is super easy to make, baked or on the grill.

You will need:
1 cup Miracle Whip
1/4 C. Lemon Juice
2 Tbs Water
1 Tbs Oregano
1Tbs Garlic Powder
1/2 Tsp Pepper
1/2 Tsp Salt
3-4 Chicken breasts (My husband likes it better with the skin, it works with or without)

Stir all the ingredients minus the chicken together until it's a creamy sauce.

Cover Chicken breasts with Sauce. For the oven bake at 350 for 60min or until chicken is fully cooked.
To cook on the grill cover chicken with Sauce and let marinade for at least 30 min in the fridge. Remove chicken from marinade; reserve marinade. Place on grill over medium coals. Grill covered 20 minutes. Brush with marinade. Continue grilling 15 to 20 minutes, or until cooked through, turning occasionally.

Seriously, you will not be disappointed. It is AMAZING.
I served mine with Spinach and Artichoke Pasta. If you want the recipe for that, here it is:
1 pound short-cut pasta
2 tablespoons extra virgin olive oil
3 tablespoons butter
1 large onion, finely chopped
3 cloves garlic, finely chopped
2 tablespoons extra virgin olive oil
3 tablespoons butter
1 large onion, finely chopped
3 cloves garlic, finely chopped
1 package dry Italian dressing
3 tablespoons flour
1/2 cup chicken stock
2 cups milk
1 10-ounce box frozen chopped spinach, defrosted and drained
1 can chopped artichoke hearts in water, drained
2 cups shredded Italian cheese blend, plus additional for sprinkling on top
1 cup grated parmesan cheese, plus additional for sprinkling on top
1. Place a large pot of water over high heat to cook the pasta. When the water is boiling, salt it well and drop in the pasta. Cook to al dente, according to the package directions. Drain the pasta and reserve.
2. While the pasta is cooking, place a medium pot over medium-low heat with the olive oil and the butter. Add the onion and garlic to the pan and cook the veggies until very soft, about 10 minutes.
3. Turn the heat up to medium-high and sprinkle the flour into the pan. Cook for about 1 minute, then whisk the chicken stock into the pan, cooking for another minute. Whisk the milk into the pan and bring up to a bubble. Add the vegetables, Italian dressing and salt and pepper to taste to the sauce and simmer until thickened, 2 to 3 minutes. Add the cheeses to the sauce and stir until melted.
4. Toss the prepared sauce with the cooked pasta and transfer to a casserole dish. Sprinkle more of the cheeses over the top and broil under low heat until the cheese has melted and the top is golden brown.
Subscribe to:
Posts (Atom)